
Most people assume that a home needs a full renovation to look noticeably better. The reality is more interesting than that. The homes that look most expensive often share a common thread: attention to detail. It’s not about buying the priciest furniture or ripping out entire rooms. Sometimes, swapping outdated hardware or adding the right lighting makes all the difference.
Americans spent $603 billion on home improvements in 2024, but the smartest updates don’t require massive budgets. A handful of well-chosen tweaks, each well under a hundred dollars, can shift the feeling of an entire room from tired to intentional. These nine upgrades are the ones guests actually notice.
1. Paint the Front Door a Bold, Intentional Color
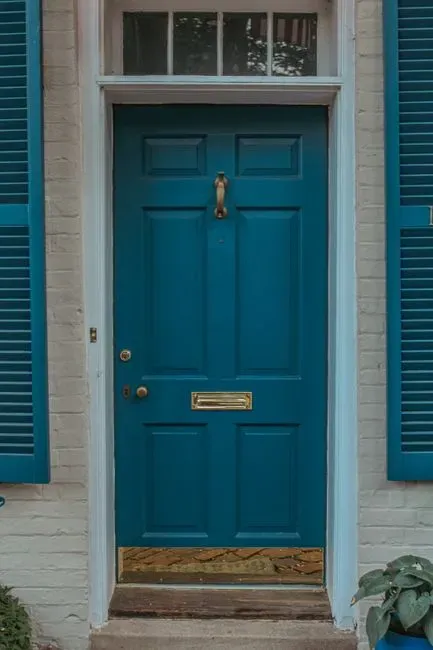
1. Paint the Front Door a Bold, Intentional Color (Image Credits: Pexels)
If any one element sets the tone for your home, it's your front door. Whether you're looking to impress guests, attract potential buyers, or simply take pride in your space, the entrance should feel inviting and well-maintained. A can of exterior paint runs well under $50, and the transformation is immediate. Popular dark color choices like deep navy, bold red, charcoal gray, or rich emerald can convey sophistication and personality.
One of the very first projects many DIYers tackle is painting the front door, and it consistently ranks as one of the best upgrades. Choosing a fun color instantly boosts your curb appeal and sets the tone for the home. One practical tip worth remembering: test paint samples in morning and evening light, since colors shift dramatically outdoors.
2. Replace Cabinet Hardware Throughout the Kitchen
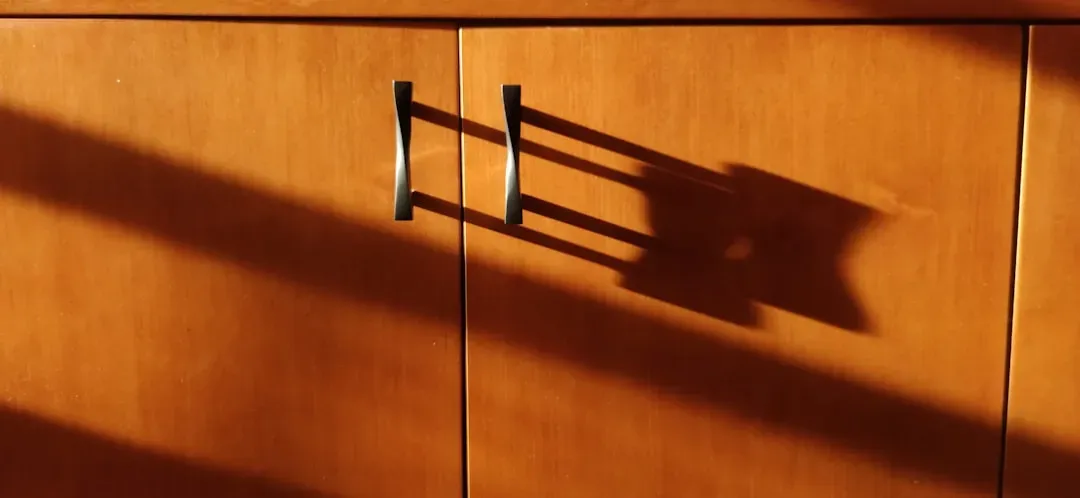
2. Replace Cabinet Hardware Throughout the Kitchen (Image Credits: Unsplash)
Swapping outdated knobs and pulls for modern alternatives is a high-impact move. Cabinet hardware starts at about $2 per piece, making this one of the cheapest updates available. Black matte, brushed brass, and chrome finishes rank as top choices. Modern pulls and knobs in matte black, brass, or stainless steel can make older cabinets feel new again.
Measuring your existing hardware spacing before shopping is essential. Most replacements fit standard hole patterns, so installation takes minutes with just a screwdriver. The payoff is genuinely disproportionate to the effort. Brushed nickel, matte black fixtures, and brass are dominating 2025. Farmhouse door hardware works for traditional homes, while sleek bar pulls suit modern aesthetics. Consistency matters most – use one finish all the way through.
3. Upgrade to a Matching Set of Bathroom Fixtures
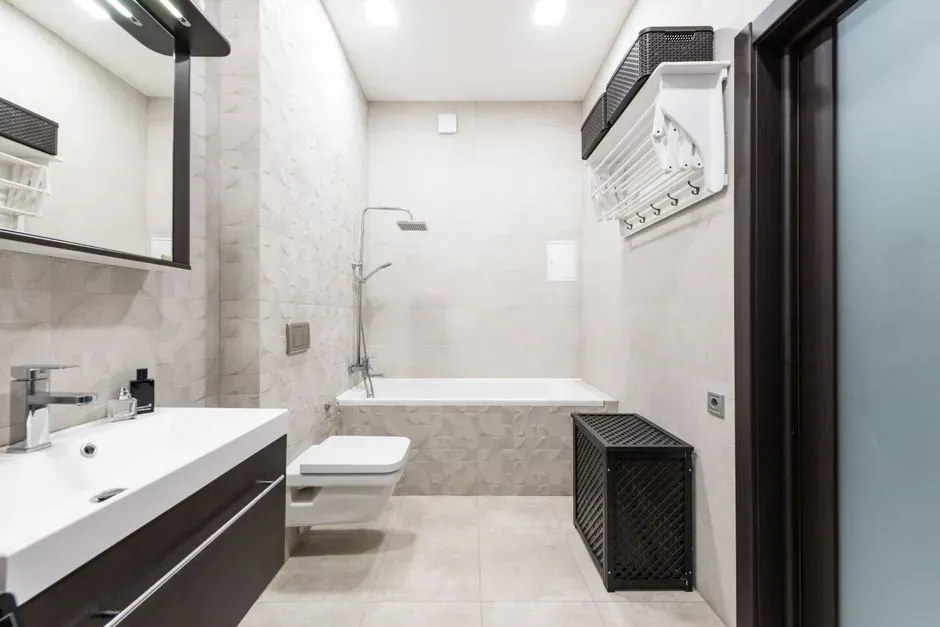
3. Upgrade to a Matching Set of Bathroom Fixtures (Image Credits: Pexels)
Bathrooms feel expensive when everything matches – towel bars, toilet paper holders, hooks, and even the soap pump. Replacing all of these in a hallway bath can cost around $60, and guests actually notice it. That's a rare outcome for a $60 project. The key is to choose one finish and stick to it. Brushed black or satin chrome usually works in most homes.
Bathrooms are some of the highest-impact areas for adding value to a home. Swapping out faucets, showerheads, and towel bars for modern, matching options is one of the most effective moves. A new rain showerhead transforms your daily routine for under $100 – the definition of affordable luxury. It's one of those upgrades that feels significant every single morning, not just when company visits.
4. Install a Peel-and-Stick Kitchen or Bathroom Backsplash
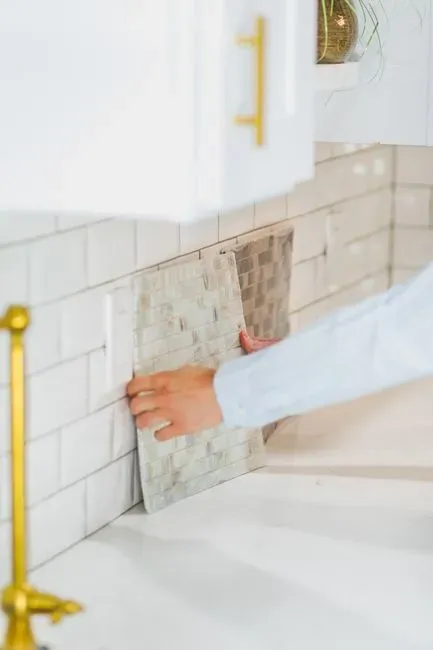
4. Install a Peel-and-Stick Kitchen or Bathroom Backsplash (Image Credits: Pexels)
Peel-and-stick backsplashes have come a long way. Today's options look genuinely impressive and cost $50 to $150 for average kitchens. They're ideal for renters since they're fully reversible – you just peel them off and go. Installation takes two to four hours with no special skills required. Subway tile, Moroccan drawings, and marble-like designs are popular trends.
Peel-and-stick tiles can also elevate bathroom walls at a fraction of the cost of a true remodel. Focus on a single wall to design a small backsplash. These require no additional tools to install aside from a utility knife for edge trimming. Simply peel off the adhesive backing, stick them to a dry, clean wall, and the impromptu renovation is complete. Both peel-and-stick tile styles typically take under an hour to apply.
5. Swap Out Dated Light Fixtures
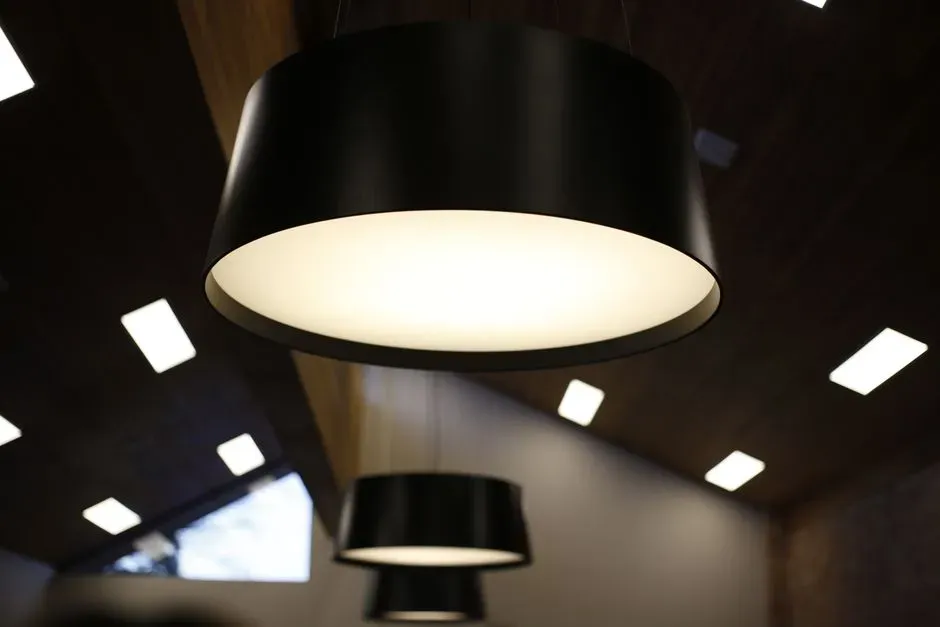
5. Swap Out Dated Light Fixtures (Image Credits: Pexels)
Making small home upgrades in areas like lighting and accessories can bring big results in refreshing and adding value to your home. A single dated ceiling fixture in an entryway or dining room can quietly age an entire space. Light fixtures range from $50 to $150, placing many good options comfortably within budget. The shift from a builder-grade fixture to something with a deliberate finish – brushed brass, matte black, or aged bronze – is something guests register without quite being able to explain why.
This upgrade costs $30 to $200 per fixture and installs in 30 minutes with basic tools. Modern faucets and fixtures in matte black or brushed nickel instantly update dated bathrooms and kitchens. For bathroom vanity lighting specifically, wall sconces can warm up the bathroom lighting. Installing them on each side of the vanity mirror in a black, brass, or chrome finish is a particularly effective approach.
6. Add a Statement Mirror to an Entryway or Hallway
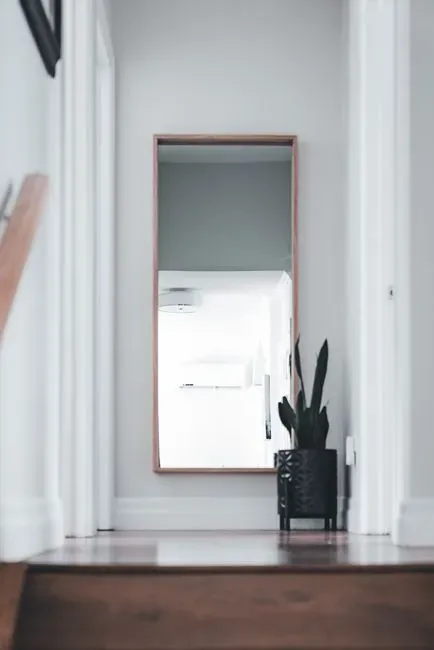
6. Add a Statement Mirror to an Entryway or Hallway (Image Credits: Pexels)
Placing mirrors around windows or glass-paneled doors is one of the best ways to improve natural light in your home. If you have either source letting in the sun's rays, install a large mirror in your entryway to make it seem brighter and larger. Mirrors found at thrift stores or discount home goods shops can look far more expensive than they are, especially when hung correctly. Look for mirrors with clean lines and thin frames. Hang them so the center hits around eye level. That sounds small, but it makes the room feel balanced.
Adding a mirror is a reliable way to make a space feel bigger and brighter. It opens up the space and creates a stunning focal point that is sure to impress guests, without having to redo the whole entryway. A large leaner mirror in a narrow hallway performs the same trick. Replacing plain or builder-grade mirrors with framed ones gives a noticeably more polished look – and a wooden frame you build yourself around an existing mirror can cost as little as $30 in lumber and stain.
7. Refresh Grout Lines and Recaulk the Bathroom
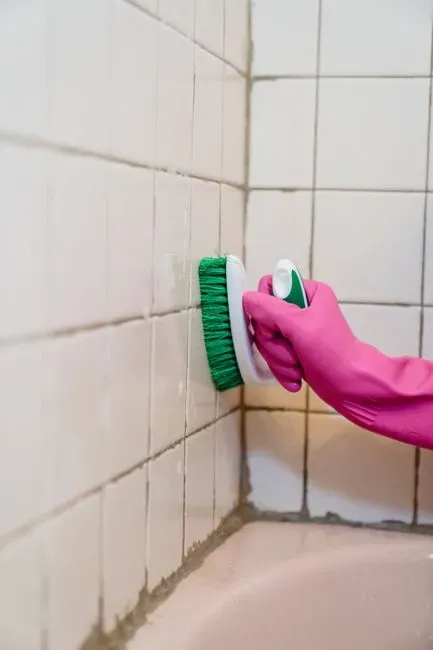
7. Refresh Grout Lines and Recaulk the Bathroom (Image Credits: Pexels)
Dingy, cracked grout will turn even an expensive tile installation into something that looks cheap. Fresh grout costs just $10 to $30 in materials and takes a weekend afternoon. For those who want an even faster option, grout paint pens run $8 to $15 and dramatically speed up the process by refreshing grout lines without replacement. It's genuinely one of the most underrated bathroom fixes on this list.
Don't skip adding fresh caulk in tubs, sinks, and showers. This $5 upgrade prevents water damage and creates those crisp, clean lines that signal a well-maintained home. Guests rarely look at grout consciously, but staining or restoring the grout lines between bathroom floor tiles can have a huge effect on the room's overall appearance. A bathroom that looks clean and tight reads as a cared-for home.
8. Install Floating Shelves and Style Them with Plants
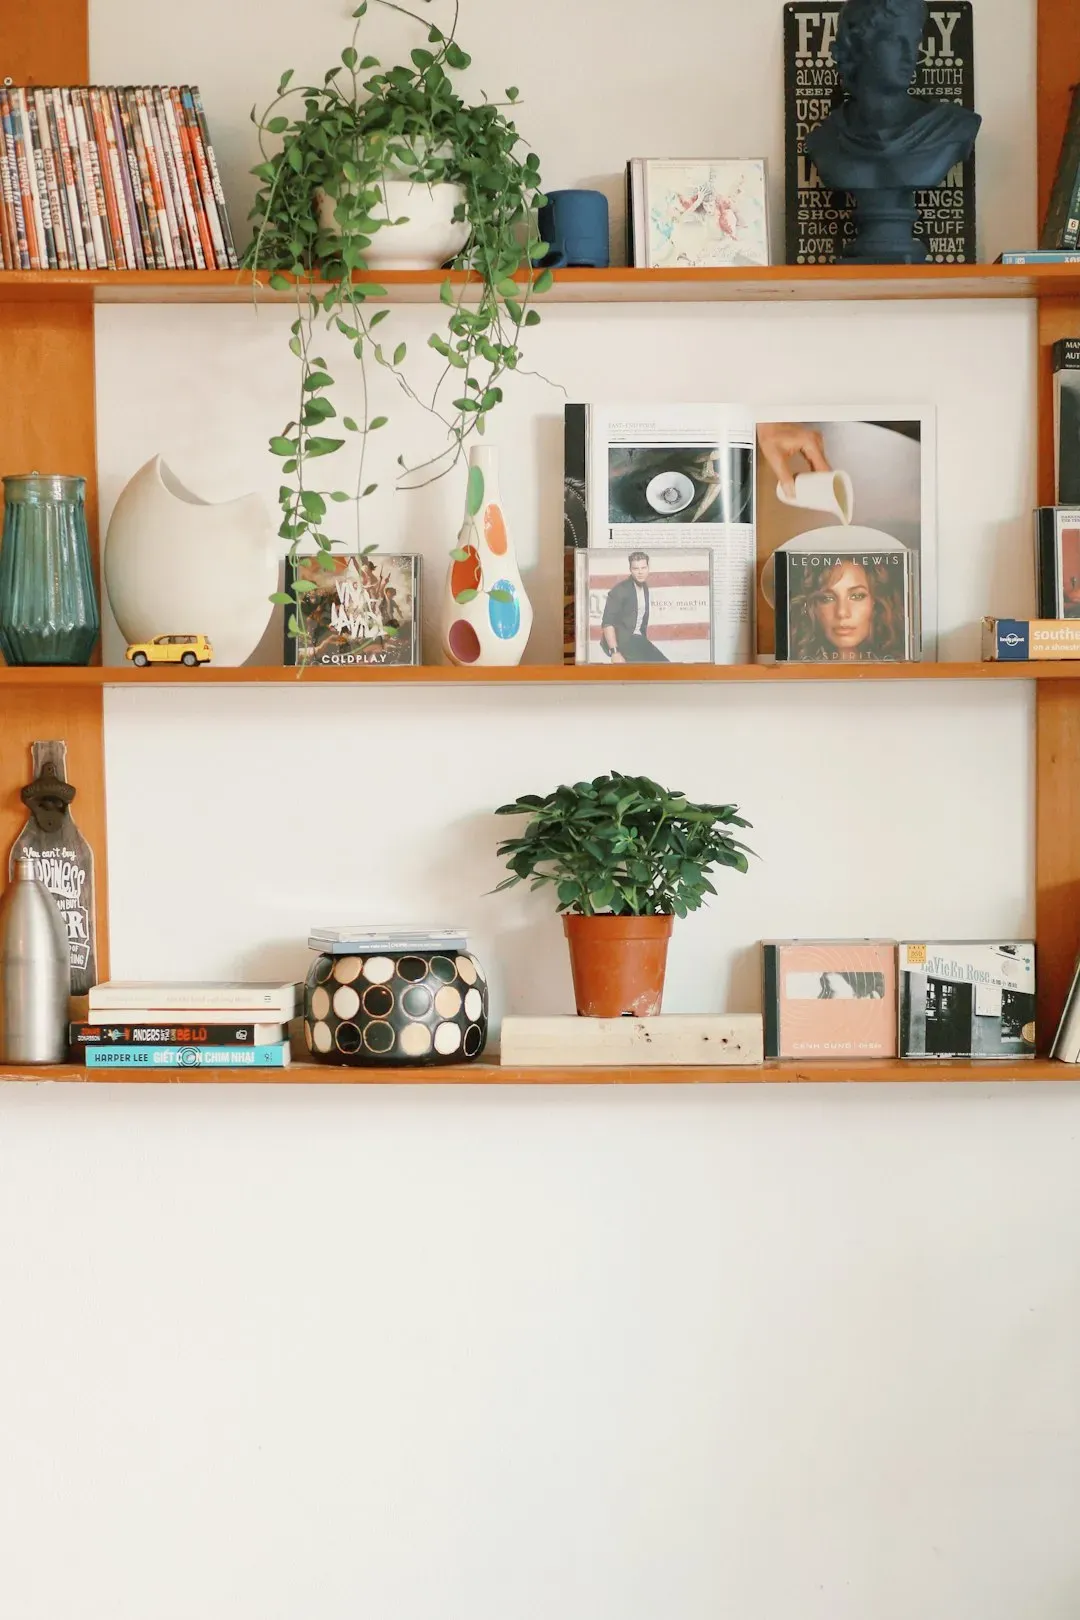
8. Install Floating Shelves and Style Them with Plants (Image Credits: Unsplash)
Adding floating shelves in bathrooms, kitchens, or living rooms can showcase decor and improve storage. A set of simple wall-mounted shelves costs roughly $20 to $60 depending on size and material. What you put on them matters just as much as the shelves themselves. Live plants bring freshness, improved air quality, and can even enhance your mood. Incorporating plant shelves helps display more plants without taking up any floor or tabletop space.
Studies show houseplants may lower blood pressure, improve air quality, and enhance overall mood. Floating shelves offer a clean, modern aesthetic that makes plants the true stars of the show. Mounting shelves directly to the wall without visible brackets creates a minimalist look that draws the eye upward and saves valuable floor space. This method is perfect for showcasing a curated collection of small to medium-sized plants. Good choices for beginners include pothos, snake plants, and small succulents.
9. Hang a Throw Blanket and Add a Coordinated Accent Rug

9. Hang a Throw Blanket and Add a Coordinated Accent Rug (Image Credits: Unsplash)
A beautiful throw does double duty – functional warmth and visual texture. Drape it over your sofa arm, fold it at the foot of your bed, or keep it in a decorative basket within reach. Choose a neutral color that works with multiple seasons, or go bold with a rich jewel tone that becomes a focal point. A quality throw can be found for $30 to $60, and it's one of the fastest ways to make a living room feel lived-in and layered.
The same logic applies to rugs. A rug anchors a room, plain and simple. Flatweave or low-pile rugs cost less and still look sharp. Going bigger than you'd expect is usually the smarter choice. Neutral bases with a tight pattern hide wear and stretch across styles if you swap furniture later. For under $100, indoor-outdoor rugs are a solid option – they clean easily and hold their color well. Together, a throw and a rug can shift the entire warmth and finish of a room without touching a single wall.
None of these nine upgrades require a contractor, a permit, or a weekend's worth of disruption. They're all things a person can reasonably do on a Saturday morning. The quiet truth about home improvement is that guests don't notice renovations – they notice whether a space feels cared for. These updates are exactly that kind of care made visible.