
If you’re looking to create a cute DIY Christmas Window Display and Decoration, which is also easy and fun to do with your kids, then you’ve come to the right place!
Here I’ll show you how to transform your window into a Christmas Winter Wonderland in just a few steps. It’ll be so cute and magical; your kids will love it!
DISCLOSURE: SOME OF THE LINKS IN THIS POST ARE AFFILIATE LINKS. THIS MEANS IF YOU CLICK ON AN AFFILIATE LINK AND PURCHASE THE ITEM, I WILL RECEIVE AN AFFILIATE COMMISSION AT NO EXTRA COST TO YOU. ALL OPINIONS ARE MY OWN AND I ONLY RECOMMEND PRODUCTS OR SERVICES I BELIEVE WILL ADD VALUE TO MY READERS. SEE FULL DISCLAIMER HERE.
Step 1: Let it snow, let it snow, let it snow
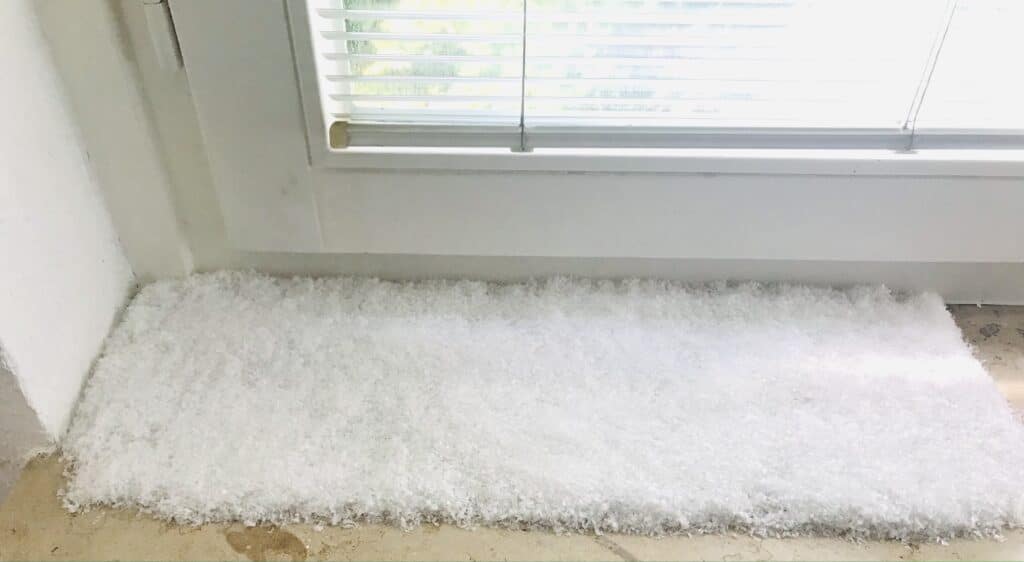
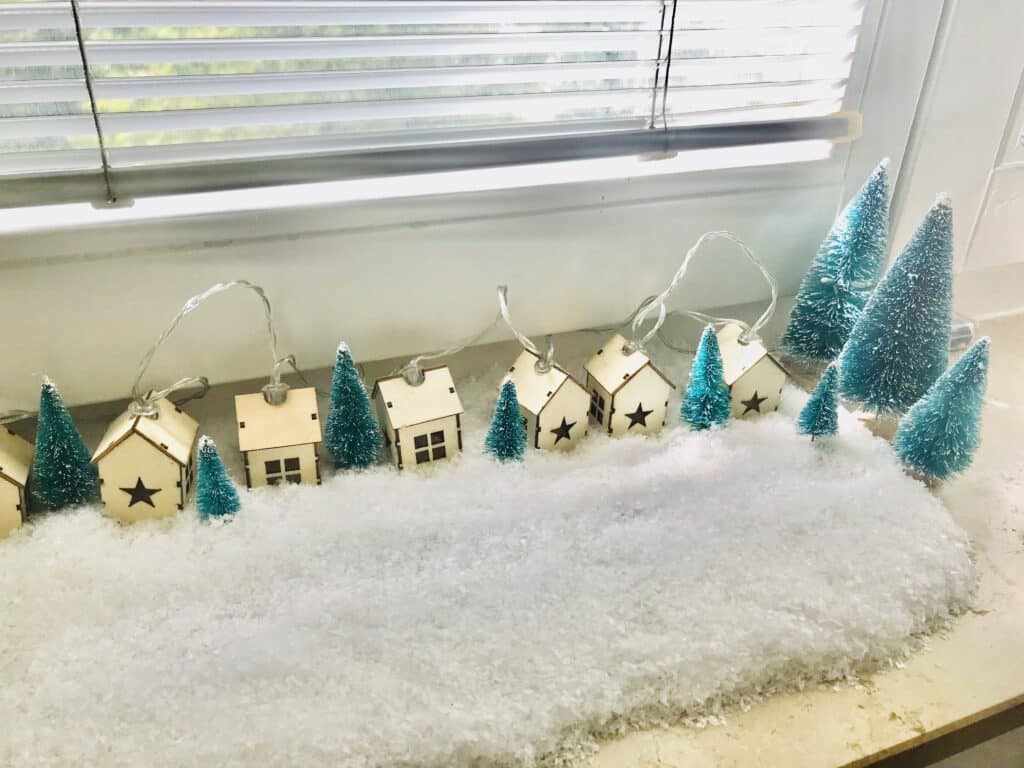
The first step to creating a Winter Wonderland will be the snow! Make sure you have enough snow to cover up your window display. It doesn’t have to be the entire window display, but enough to freely be able to create your cute little village soon.
As seen on the image above, I’ve only covered up a small part; I want it to be cozied up in the corner because the final result will look much better than if spread over a large area.
There are many choices of artificial snow to get; I used the Sparkling Snow because I love how it sparkles at night. However, if you prefer to have more snow or have a larger window display, I highly recommend getting the Super Snow Powder by. I mean, you can make over 2 gallons of snow with just under $10.
Sparkling Snow

Super Snow Powder

Step 2: Placing the Cute Christmas Houses

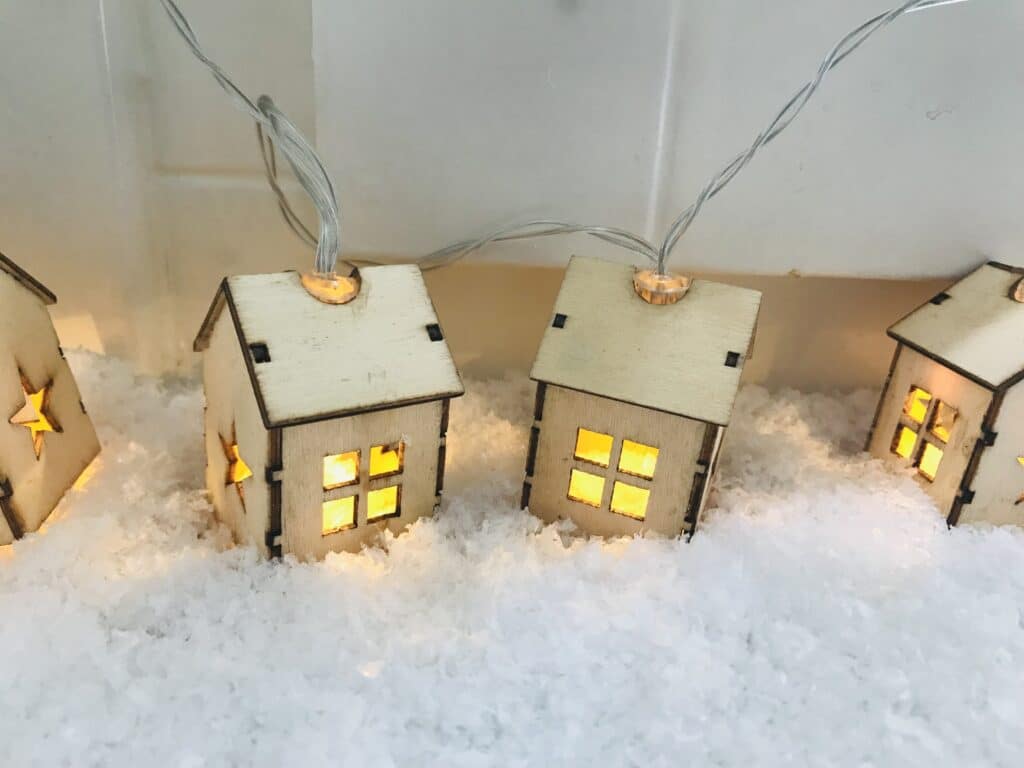
Yes, I’ve used the wooden string-light houses because they look magical when with lights are turned on. However, the strings can be annoying and make it hard to stand alone. For this reason, I placed them at the back to get support from the window.
Look at how cute they look with their lights on!
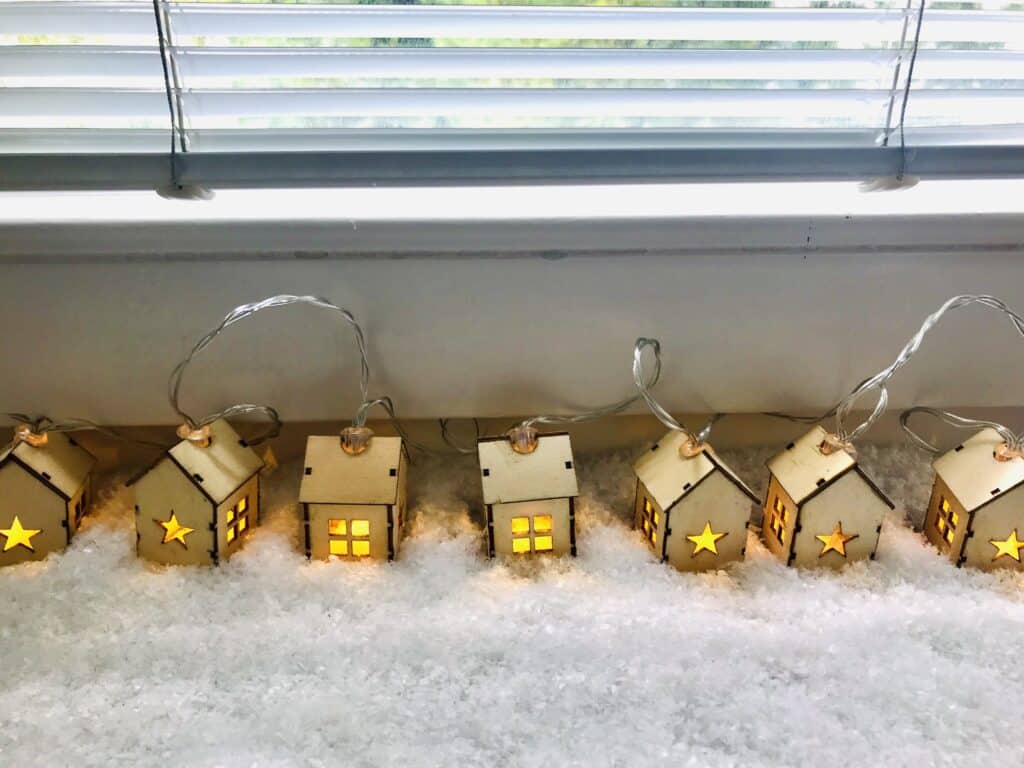
Here are some cute string-light houses to get, which I’m pretty sure will look extra cute with on the snow.
No products found.

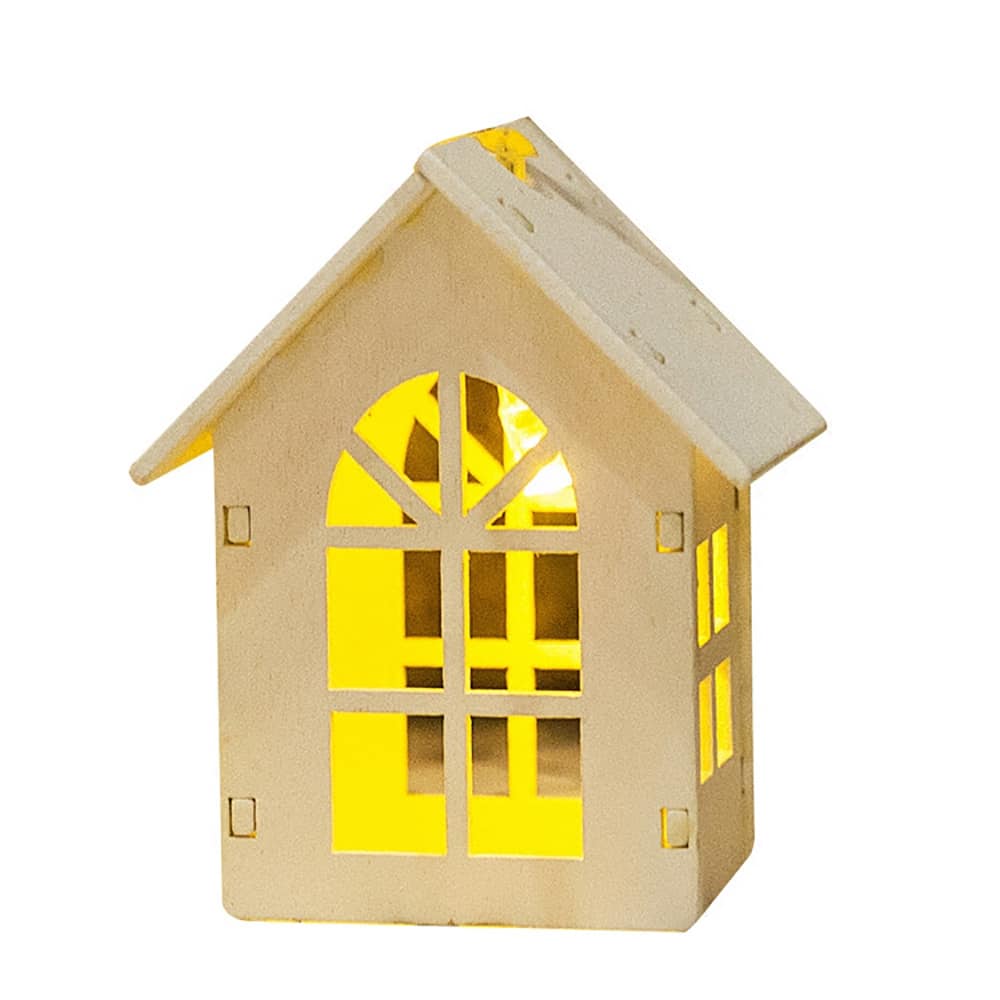
On the Other hand, if you are not a huge fan of strings and using batteries, you can also try the following Christmas fairy houses; they will be perfect for your Winter Wonderland Village.


Here are some Cardboard Houses which I find very interesting because you get to color and decorate it as you want! Talk about a fun DIY Christmas activity.

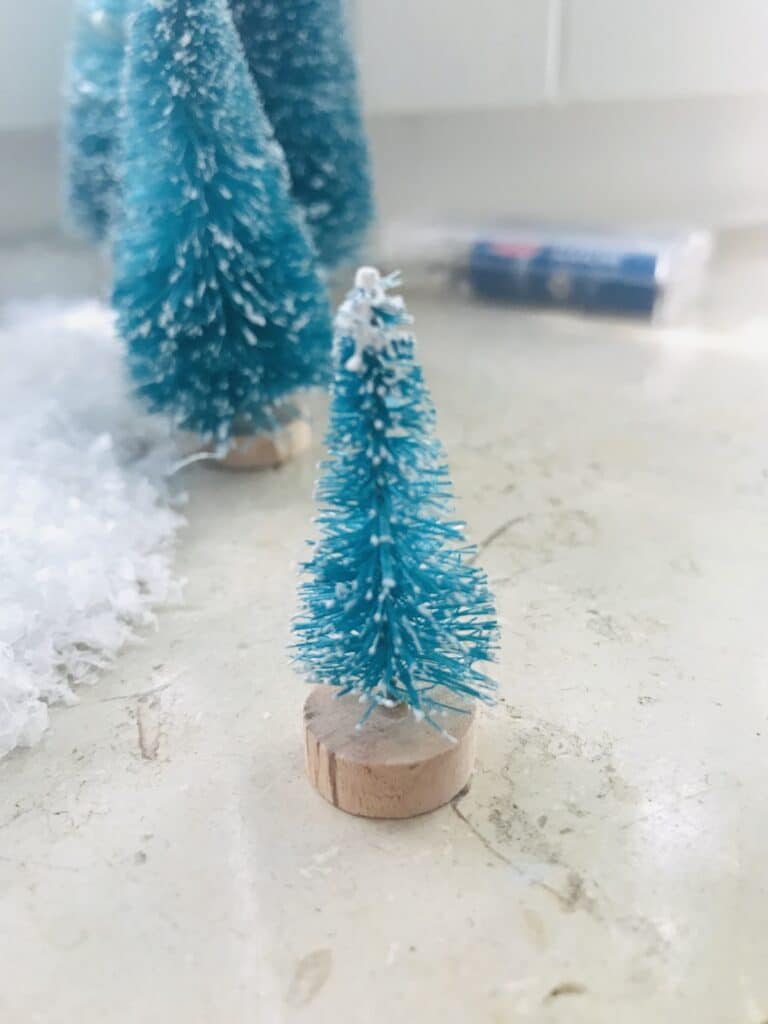
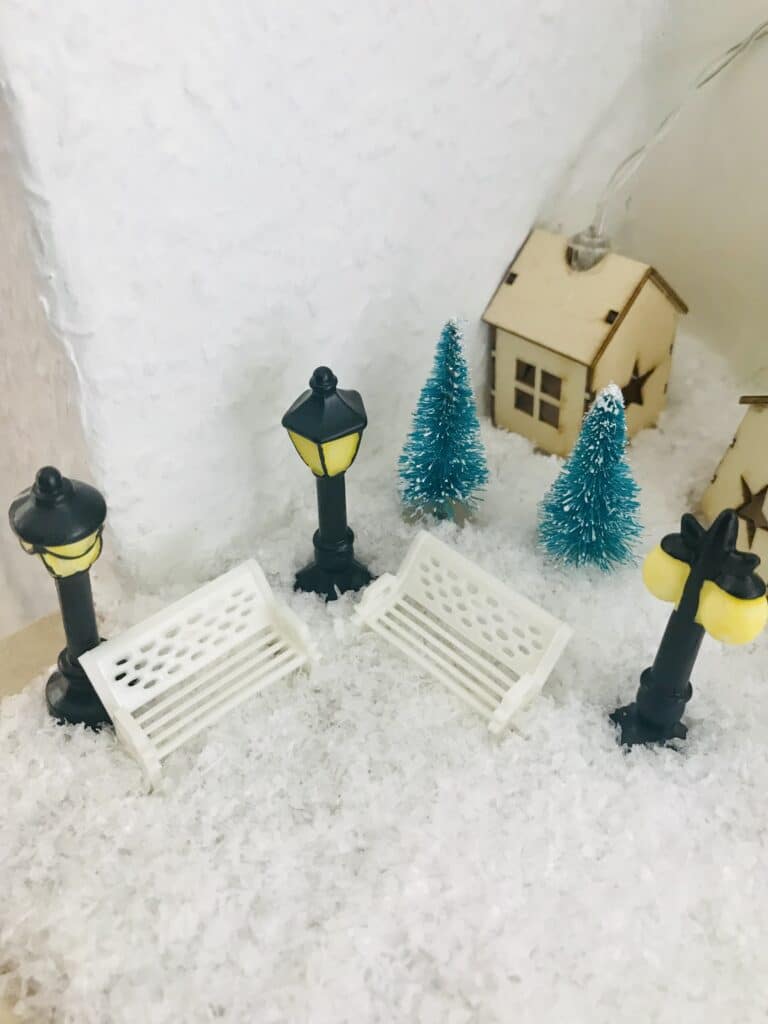
Step 3: “Planting” the Trees
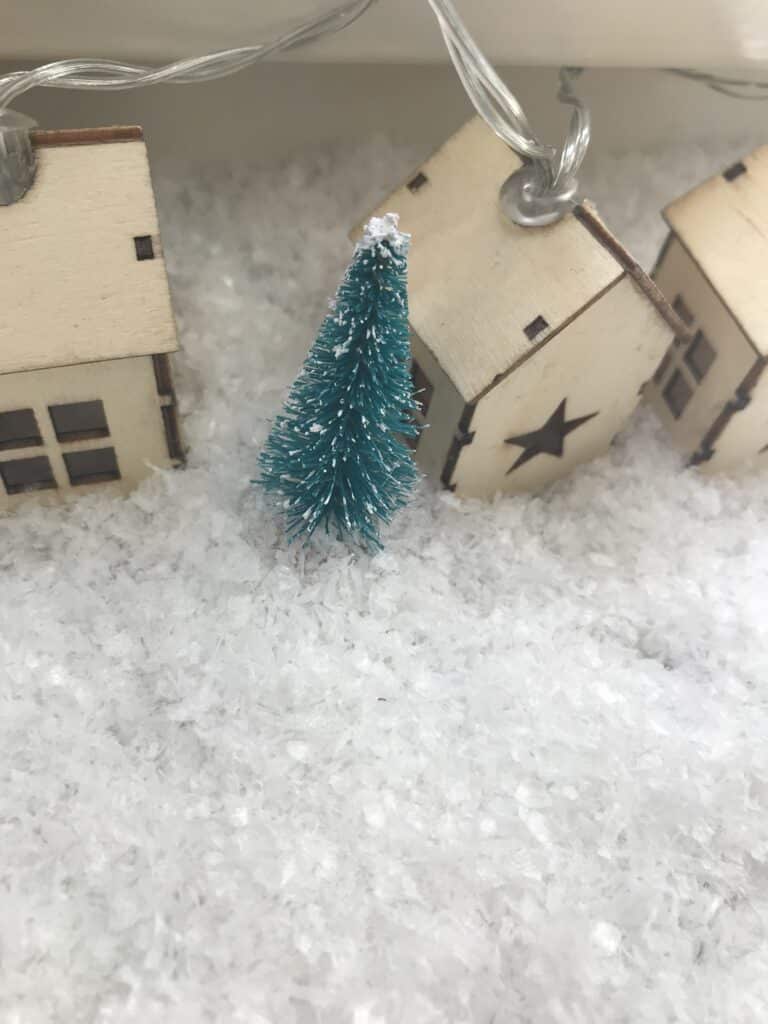
Ok, we won’t be planting actual trees, but they are still just as fun to place them in your village at the back or between the houses like I did. If you are using string-light houses, it will only be possible to place them between the houses.
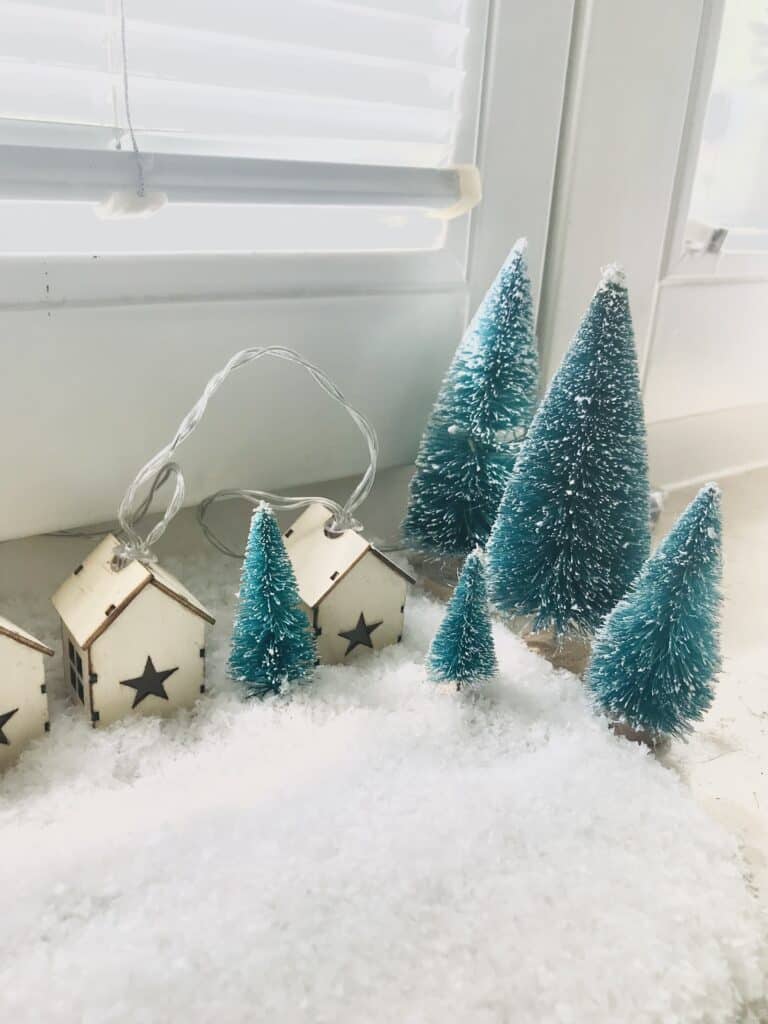
I prefer using the green trees instead of the white ones because it brings out the color contrast, which I love, and gives it a more Christmas look.
The trees come with a small stand which you should bury in the snow for a much more natural look!
As for the bigger trees, I would place them on the side for a fuller look.
Step 4: Adding the Figurines
Yes! We have finally come to the best part! Adding the Christmas Figurines will be the super fun part while creating a DIY Christmas window display. There are so many choices out there for you to create your ideal Winter Wonderland.
Animal-Themed Winter Wonderland
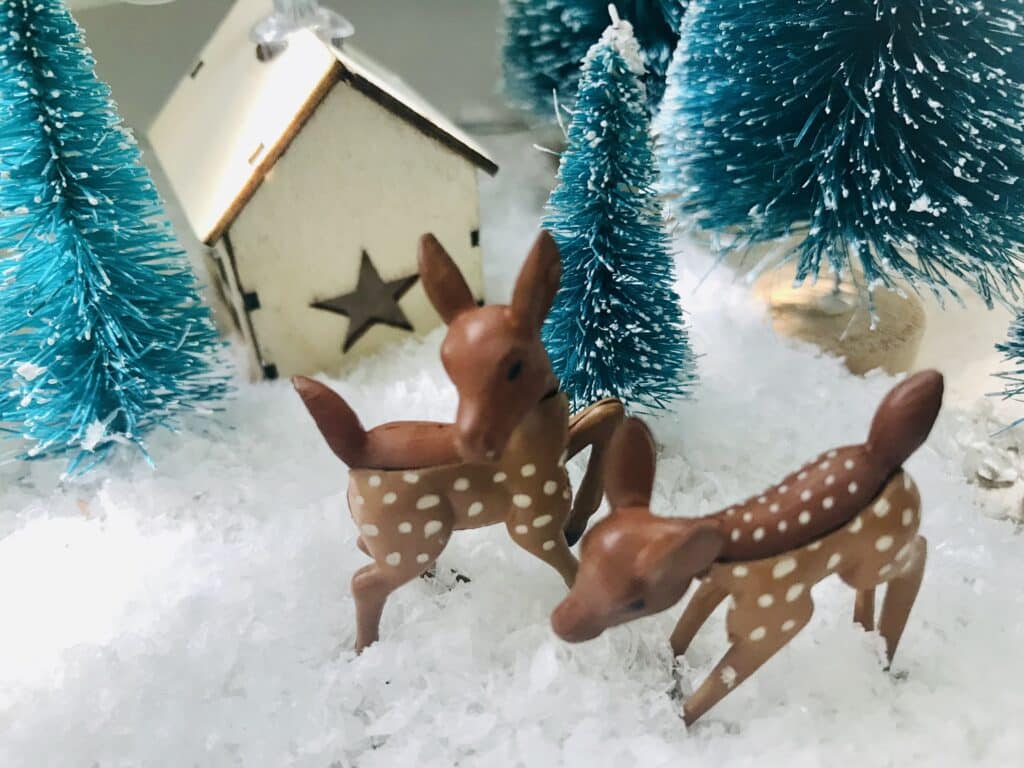
There is just something magical about animal-themed Christmas Decoration; it’s exotic, exquisite, and most of all unique. Moreover, it will be perfect if your kids love animals and enjoy adding as many to the decoration.
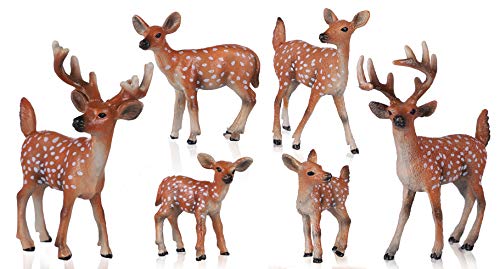
Here are some cute Animal Figurines which will make a great Christmas Window Display.
No products found.

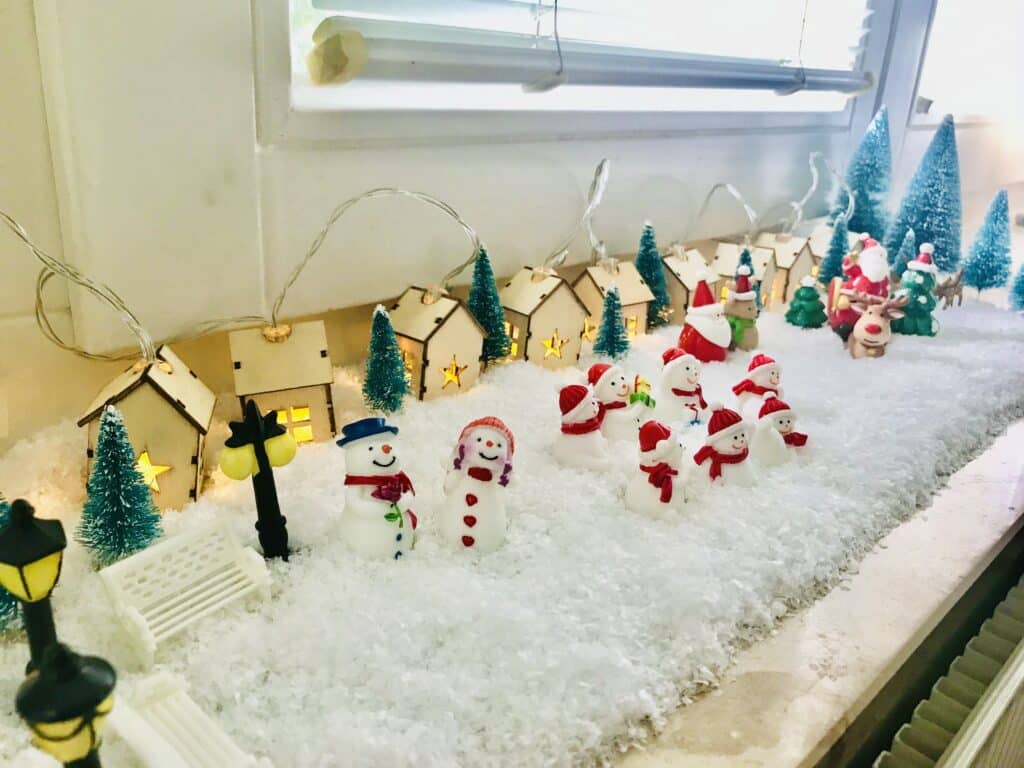
Snowmen, benches, and Lightpole Figurines
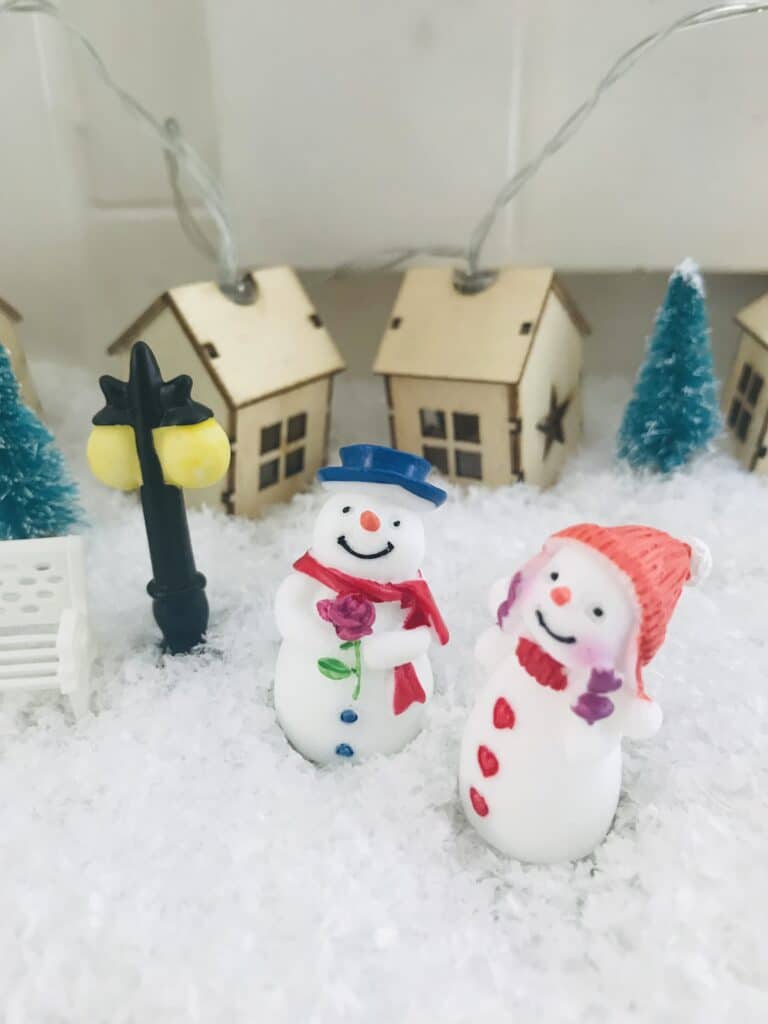
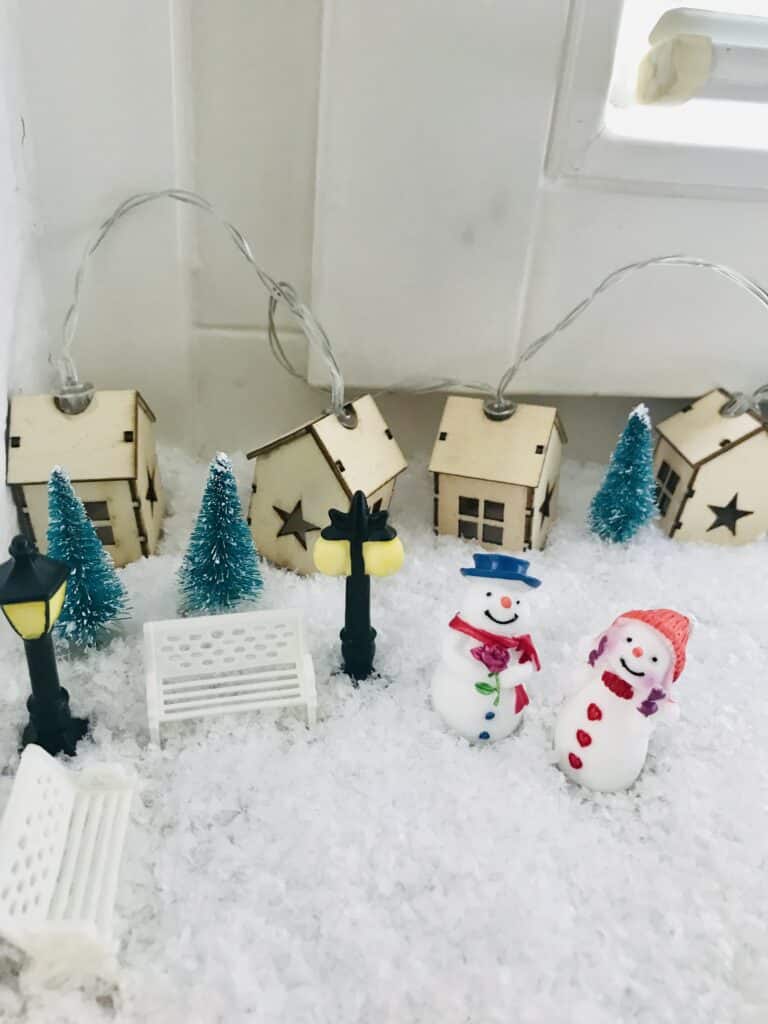
How cute are these? I created a little cozy corner for the love birds, and they seem to be enjoying it!
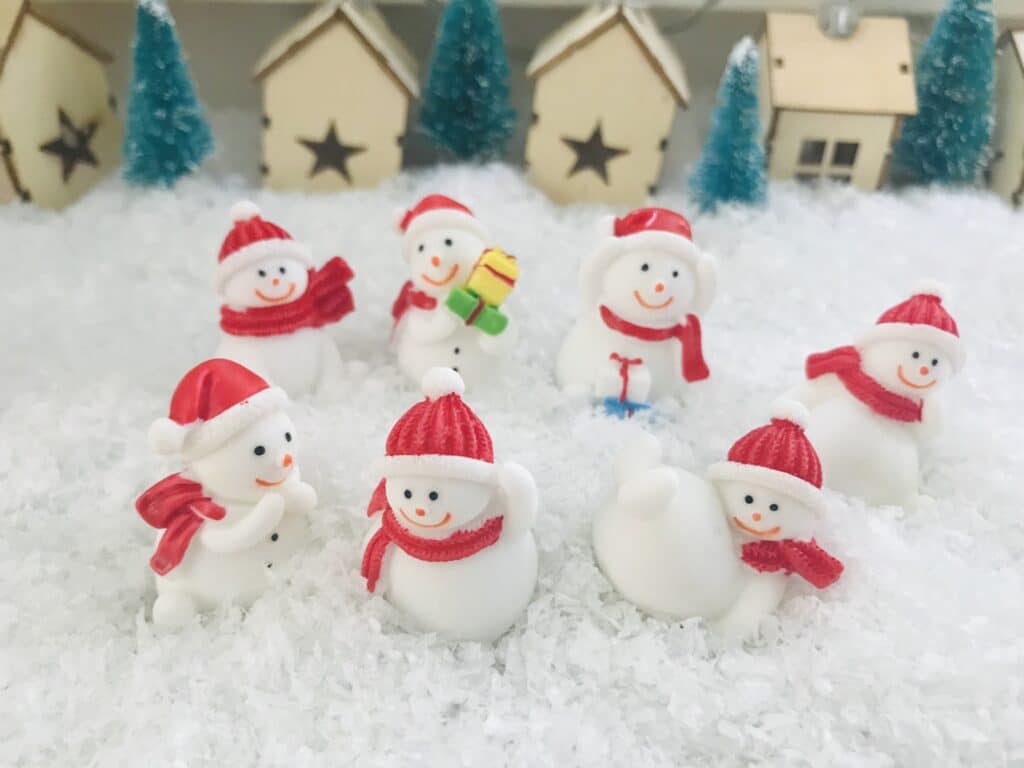
With the love birds at the corner, I placed the little ones at the center as the main display. Yep, they get to be the centerpiece, and it’s simply adorable.

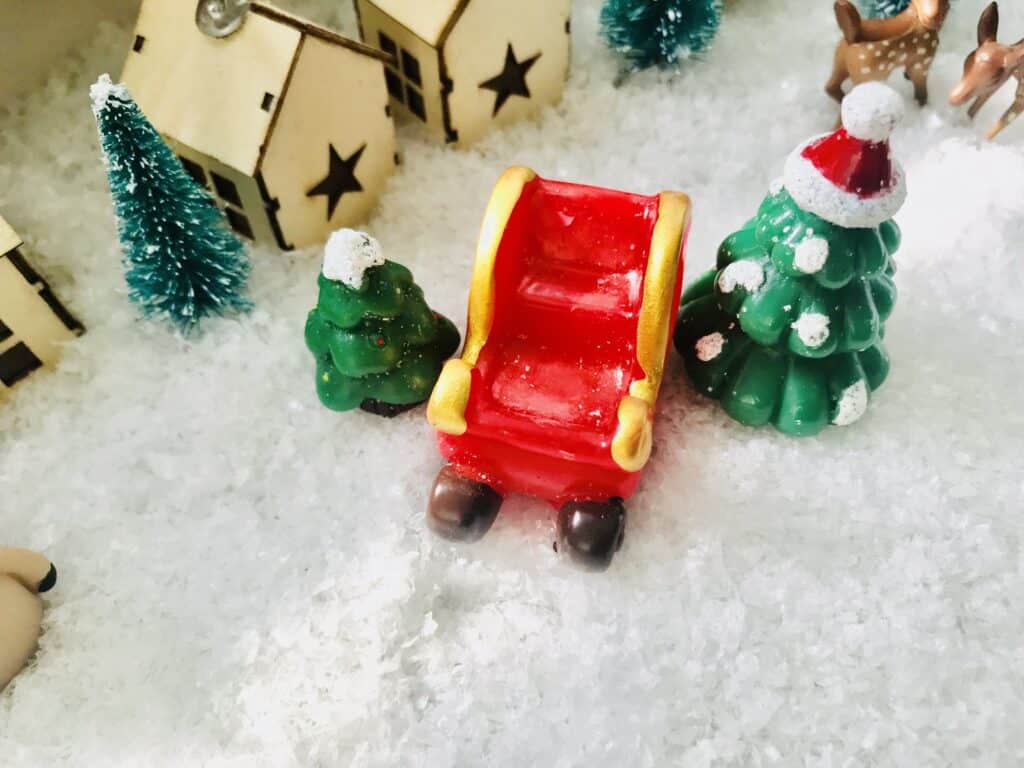
Traditional Christmas Figurine

Adding the Classical Christmas Figurines, such as Santa, Rudolph the Reindeer, a Sleigh, and some Christmas trees will always be delightful! That is to say, regardless of the theme, you can’t go wrong with adding a bit of “festive touch” to your Christmas Window Display. Besides, your kids will love it!
Here I placed a sleigh with two Christmas trees at the side to create a cute Christmas ambiance. Oh, and don’t forget to put Santa on the sleigh!
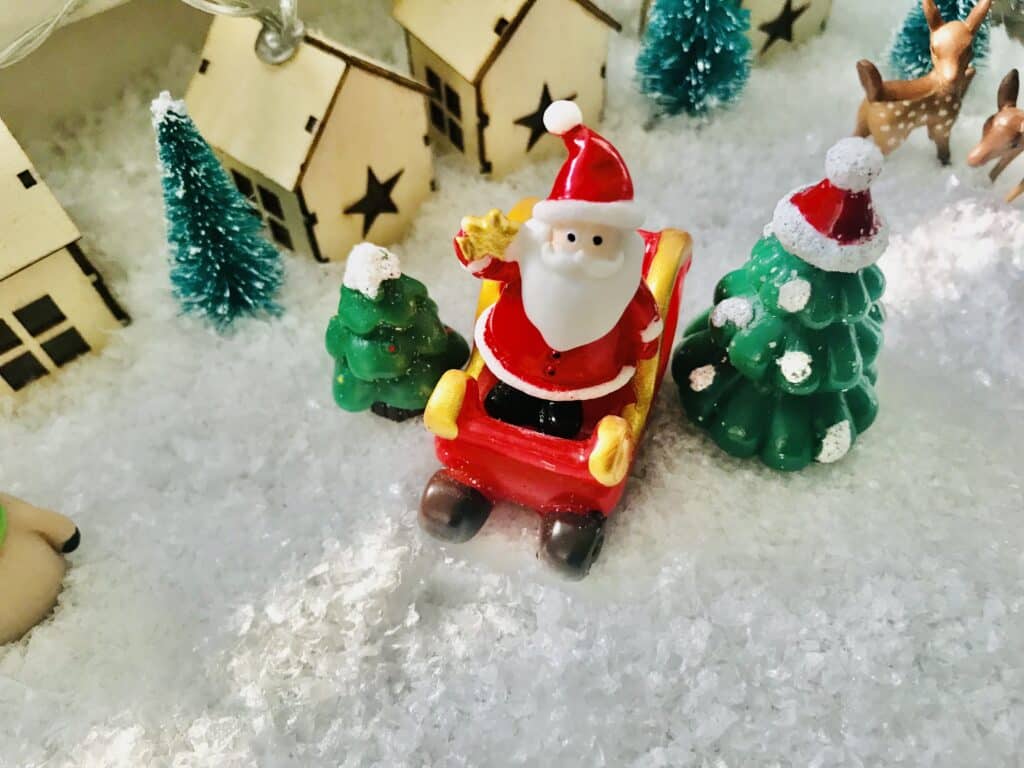
Something is missing; I guess Santa would need Rudolph to guide his sleigh! Isn’t that the cutest Christmas Window display?


Now we have Santa on a sleigh with Rudolph and next to two Christmas trees, thus making your decoration as Christmas as it can be!
The Figurines used in this DIY Christmas Window Display
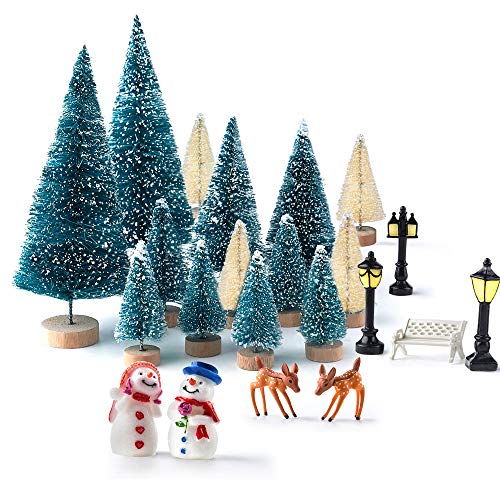

And there you have it! The Cute and Easy DIY Christmas Window Display. In short, a fun activity for the entire family.
To sum up, here are the items needed to create your cute Christmas Winter Wonderland.
- Artificial Snow
- String-light houses or fairy houses
- Trees (sometimes it comes with the other figurines)
- Adding Christmas-themed figurines.
Now, over to you! Let me know what you think in the comment below! Feel free to share your ideas and inspiration on creating a DIY Christmas Window Display.

More Ideas from this Category


What a cute setup! I love all the detailed pictures.
This is really cute! I love that it’s for indoors just for you and your family to enjoy